How To Make Your Own Wreath
How To Make Your Own Wreath

It just simply and indefinitely would not be right. Of course it seems strange to take time to make your own instead of spending a whopping $50-$200 on a "perfected" Target worthy wreath. But, there is something special about taking the time and effort to make your own, you will be surprised as to how much value you gain from doing this.
Four Most Common Types of DIY Wreaths:
Foam Wreath:
Most DIY wreaths are made with a foam wreath. This type is typically used for fuller wreaths and are generally the most user friendly.

PROS:
- Lightweight
- Smooth
- Convex Shape
- Variety of Colors
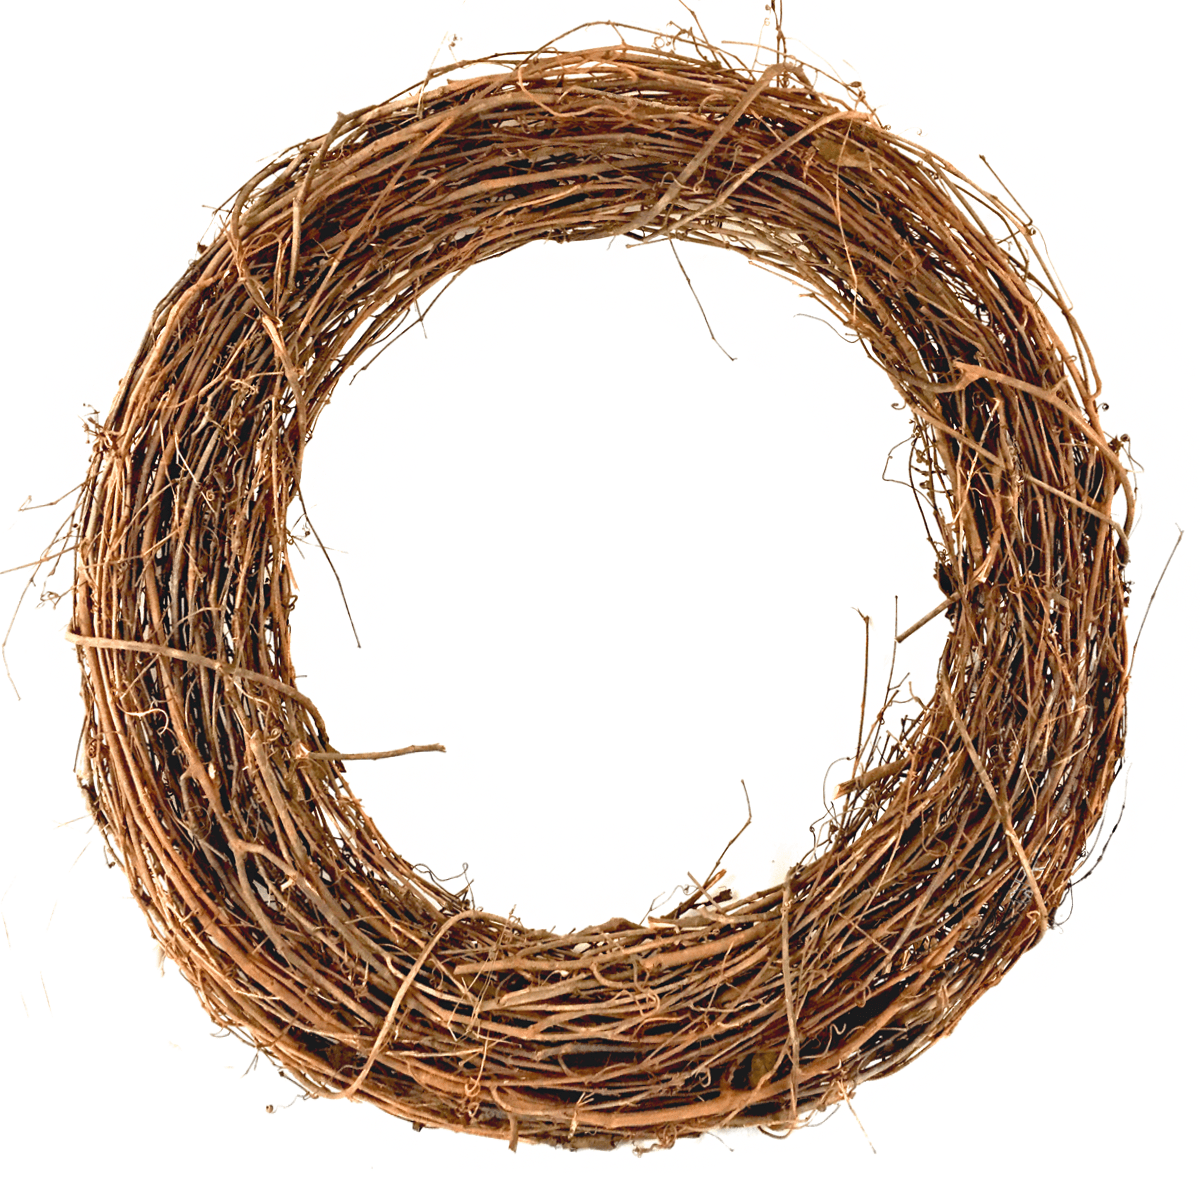
Grapevine Wreath:
This is another very popular type of wreath base as they have the rustic/natural theme to it. Typically the color is brown and twig like and blend nicely with the greenery.
 |
| Source: grapevine |
PROS:
- Blends nicely
- Inexpensive
- Sturdy
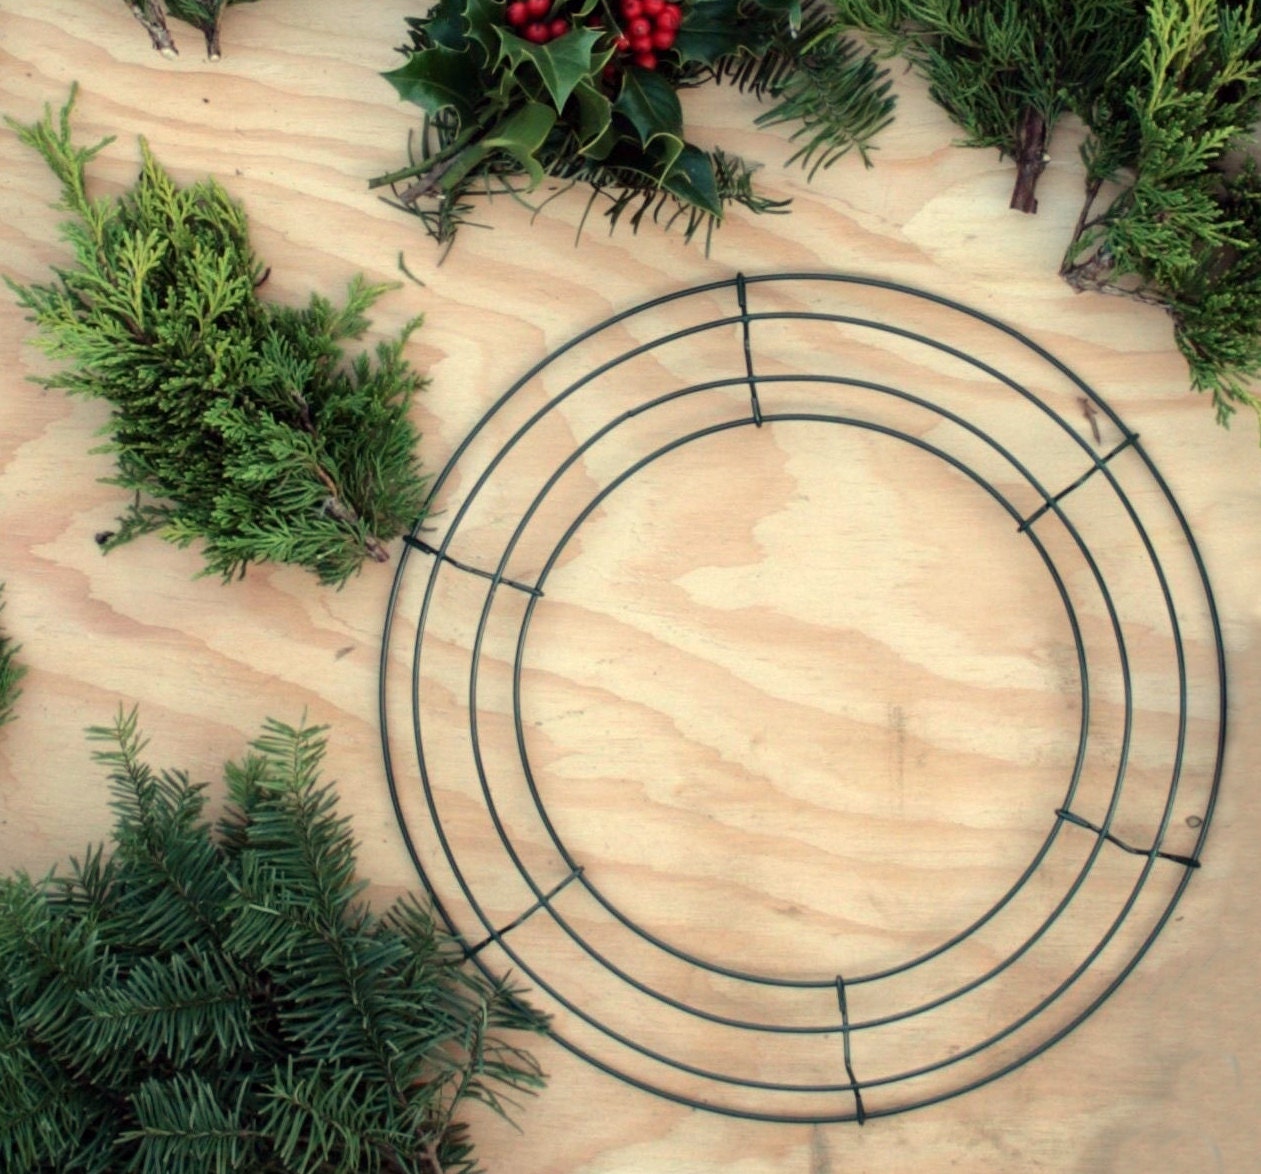
Wire Wreath:
Now these types of wreaths are the most economical way of going and can most likely be found at the Dollar Tree. It has a curvilinear shape to it and typically is used for "Live Wreaths"
PROS:
InexpensiveSource: wire wreath - Versatile Style

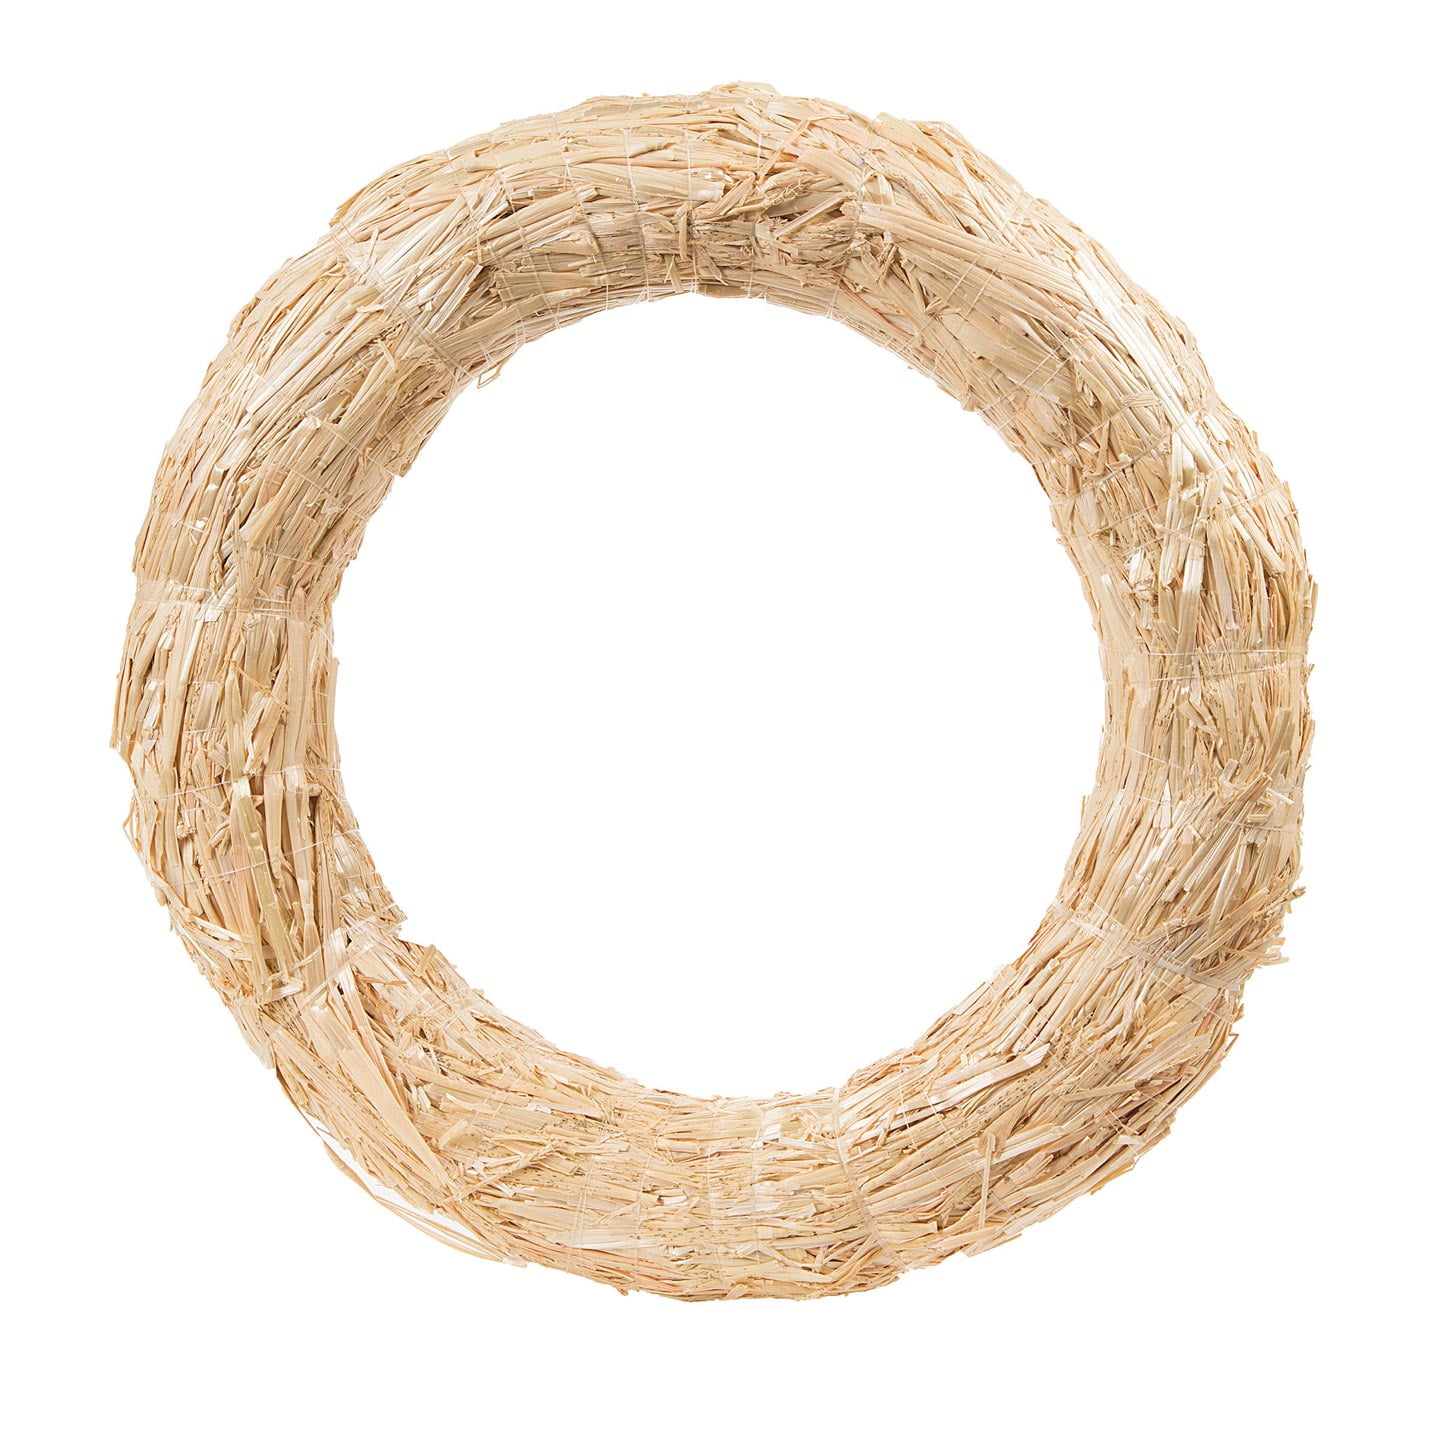
Straw Wreath:
This type of wreath is probably the least common wreath. It is similar in shape and thickness as the Foam Wreath but is alike to the Grapevine Wreath in that it has a rustic appeal.

A front door without a wreath is equivalent to a cake without frosting.<<<Click to Tweet
DIY Wreath
The wreath that I will be showing steps on how to make will be based on the Grapevine Wreath. Follow along with these steps I gathered from How To Make Wreaths by DecoExchange.
Supplies:
- Dried or Fresh Foliage
- Scissors/Stem Cutter
- Floral Wire
- Hot Glue
- Wreath Frame (extruded foam, grapevine, wire, straw, and hoop)
- Ribbon
Steps:
- Use the stem cutter to trim all the fall picks and greenery into smaller stems.
- Insert the picks and stems on your grapevine wreath base on either side of where you want your bow to go. Use a dap of hot glue gun to each piece into the grapevine.
- Continue the same process with the fall greenery for a fuller look. I recommend using a triangular pattern.
- Take out your ribbon and EZ Bow Maker.
- Make 18″ tails, and (3) 6″ loops on each side with your first 1.5″ ribbon.
- With another 1.5″ ribbon, measure a 18″ tail and (2) 5.5″ loops on each side then cut the tail. Using the first 1.5″ ribbon again, make 18″ tails and a 5″ center loop.
- Wrap a zip tie around the center of the bow.
- Before you tighten the zip tie all the way, thread a pipe cleaner, then tighten the zip tie all the way.
- Fluff the bow. Then, cut a thin piece of ribbon and wrap it around the center of the bow. Cut the excess zip tie length.
- Add the bow in the center of the greenery.
- Thread the pipe cleaner through the grapevine and tie nice and tight.
- Curl the tails of the ribbon and trim tails at an angle.
I hope you are pleased with what you have created and have enjoyed this post. Subscribe to see more!


Comments
Post a Comment